 C.C.P. Contact Probes Co., LTD.
If you are looking into pogo pins for your application, you will sooner or later ask the question which mounting options are available for pogo pins. This article will go through all the different options, explains the advantages and disadvantages and gives some general advice. If you have further questions after this article, please contact us directly.
Our engineers are true experts when it comes to all sorts of connectors and our long experience with over 6000 custom connector designs will be very valuable to avoid mistakes. Besides your structure design, we will recommend a suitable way considering your product cost.
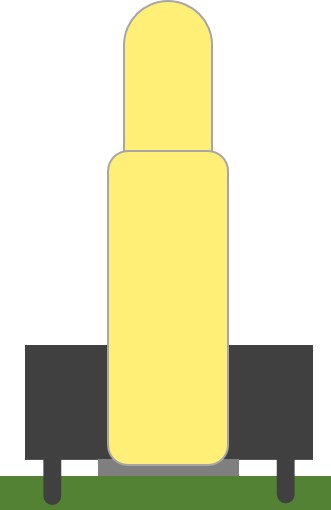
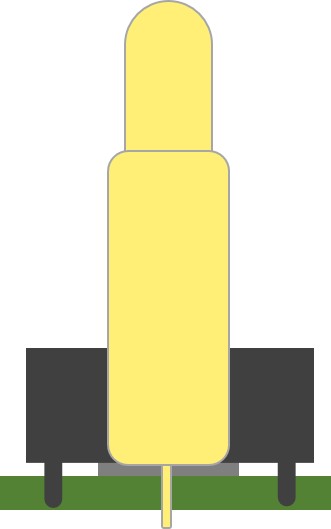
Vertical Mounting |
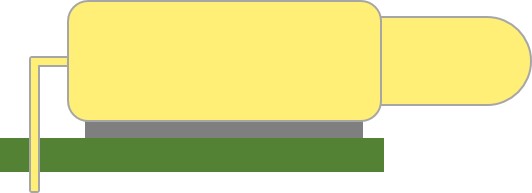
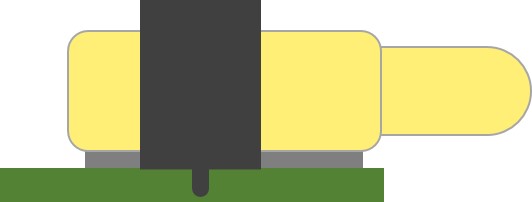
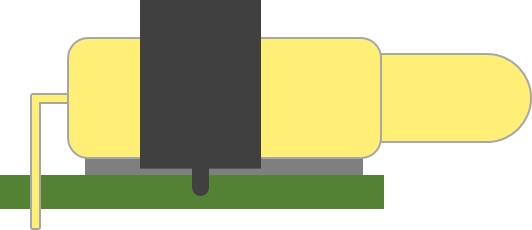
Right Angle (Horizontal) Mounting |
||
1. |
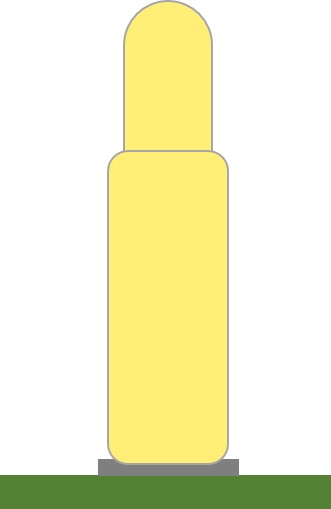
The first and most simple way is to place the connector on a solder pad and use solder paste to fix the connector in place. While this is certainly the easiest way, we usually do not recommend doing that. It generally isn’t very stable, and pins might break away or dislocated through vibration or the mating pressure
|
 |

|
2. |
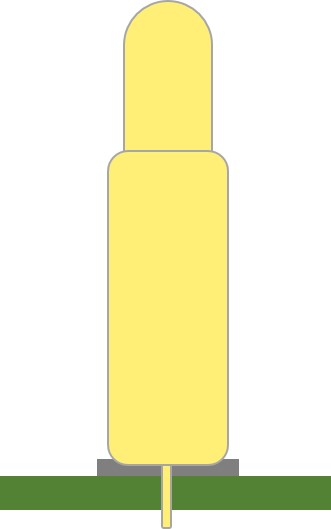
The second option is to use a pogo pin with a plug-in tail that is fixed by sticking the tail through a mounting hole on the PCB as it is common practice for most bigger components on the PCB. The tail gives additional support to the pin and increases the stability.
|
|
 |
3. |
The third option is to use a housing with legs to mount the whole connector securely on the board while the pogo pins are simply mounted on a gold pad by pressure or solder paste (Option 1). This version is generally stable enough for most applications.
|
|
|
4. |
This is a combination of Options 2 and 3 where the housing and the pins have plug-in tails. This is a very secure way of mounting a connector and give the most stable and durable connection. We usually recommend this type of mounting when ever possible. |
|
|
What to pay attention to when using SMT with Pogo Pin Connectors?
Like most other components are Pogo Pins heat resistant only up to a certain point. Standard housing materials and spring materials may not be able to withstand the heat or can only go once through the reflow soldering process. If you plan to do several sessions, let us know! We will choose the right pins and the right materials for your requirements to avoid male function at a later stage.
5. How to Mount Pogo Pins with a Cable?
Pogo Pins can be mounted via a cable on the PCB. For this purpose the Pogo Pin gets a small solder cup at the back of the pin which is used to attach a cable. CCP can supplysingle pins or whole connectors with preassembled cables. It is also possible to add standard or non-standard connectors on the other side of the cable, such as USB connectors or machined pins.
6. How to Mount Pogo Pins via Spring Tails?
Another option to mount a Pogo Pin on a PCB is to attach a flat spring part on the end of the pogo pin. The connector can then be fixed on the housing or via mounting legs on the PCB as shown in the pictures below. This option is commonly used for right angle pins.
7. How to Mount Pogo Pins with Double Ended Pins
One elegant way to mount a pogo pin is to simply use a double ended pin. This solution allows for very simple and efficient assemblies. The pin can either be directly press-fitted into the device housing or it is mounted on a plastic housing that is in turn attached to the device. Below picture shows the latter version.
Contact us to get more information on how to mount the Pogo Pins
